
Introduction: Why DIY Clay Planters?
In today’s fast-paced world, reconnecting with nature through hands-on crafts is not just satisfying—it’s necessary. DIY clay planters offer a perfect blend of creativity, eco-consciousness, and style. Whether you’re revamping your balcony garden or crafting handmade gifts, this guide will walk you through everything you need to create your own stunning clay planters—step by step.
Clay planters are popular because they are affordable, customizable, and environmentally friendly. With air-dry clay, you don’t need any special kiln or oven to create beautiful designs. You can make rustic, modern, or boho-style pots with just a few tools and a splash of creativity.
This blog will also introduce you to kokedama, a traditional Japanese method of planting with moss balls. We’ll show you how to combine kokedama with handmade clay bowls for a unique aesthetic.
Whether you’re a beginner or seasoned crafter, this tutorial is for you. Let’s dive in!
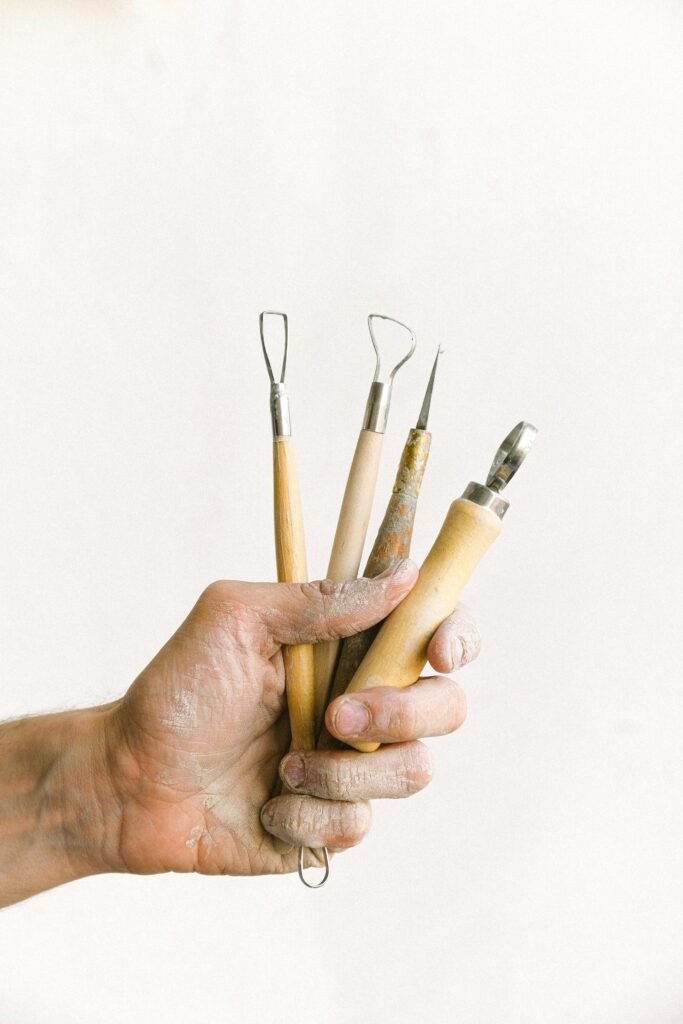
Tools & Materials You’ll Need
| Material | Use |
|---|---|
| Air-dry clay | Main crafting material |
| Rolling pin | To flatten clay evenly |
| Cutter/knife | For cutting shapes |
| Bowl/molds | For shaping your pots |
| Water bowl | Smoothening and joining edges |
| Acrylic paints | Decoration and finishing |
| Sandpaper | Finishing surface |
| Sealant (optional) | Waterproofing after painting |
| Moss & jute string | For kokedama |
Optional:
- Clay stamps or leaves for texture
- Small pebbles for decoration
Step-by-Step: How to Make DIY Clay Planters
Step 1: Preparing the Clay
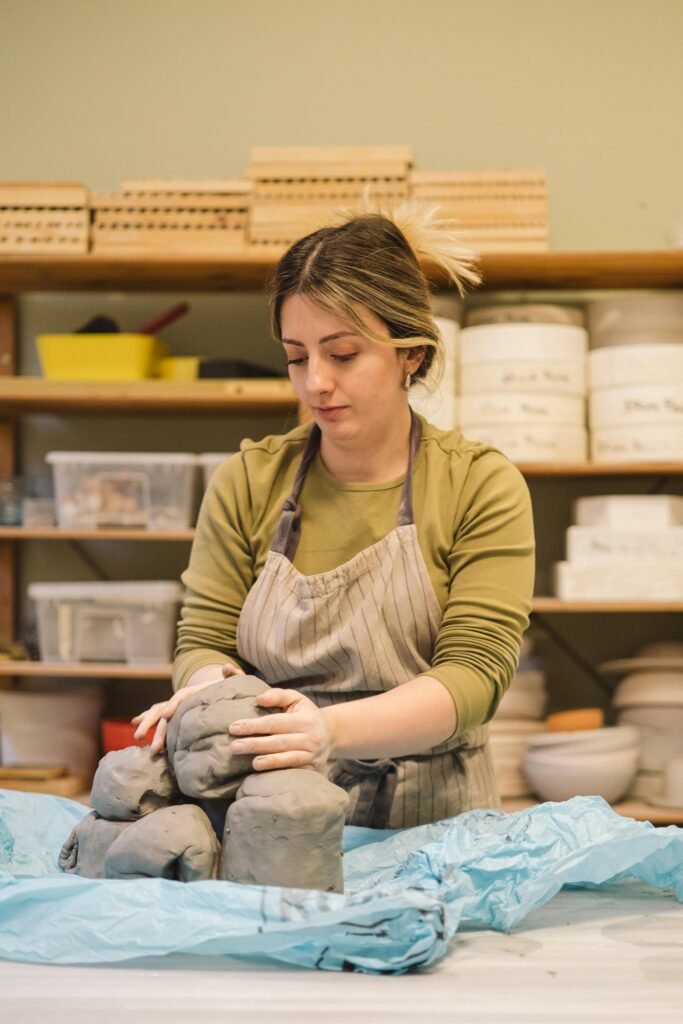
Start by kneading your air-dry clay until it’s soft and pliable. This removes air bubbles and helps avoid cracking.
Flatten the clay using a rolling pin to a thickness of about 5-6mm. Don’t go too thin, or your pot might break while drying.
Step 2: Shaping Your Pot
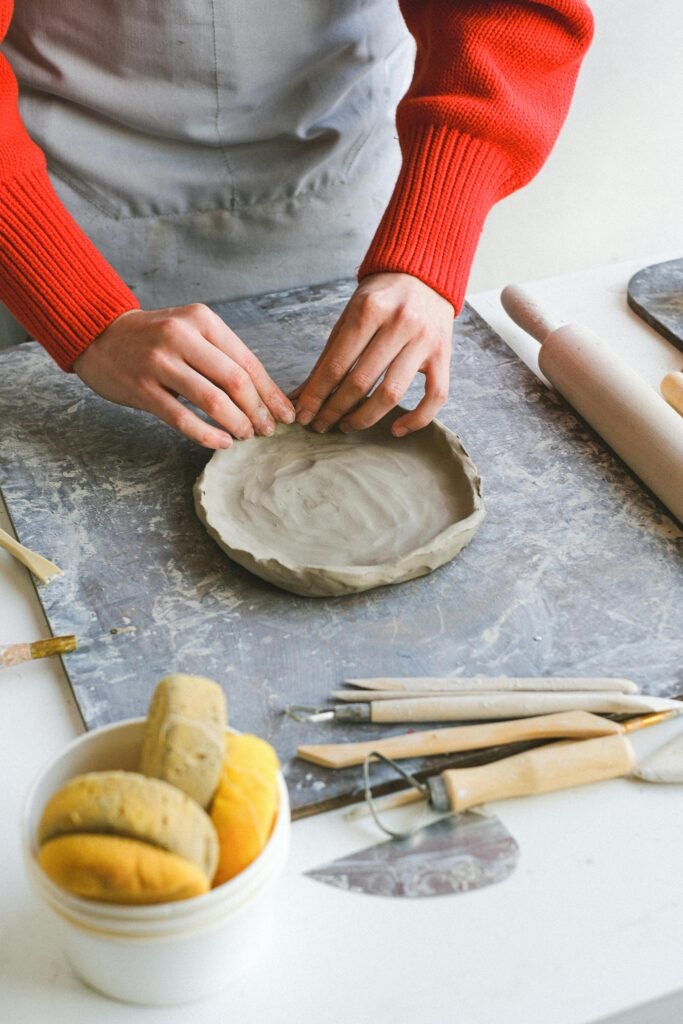
Use a mold (like a bowl or jar) to create a round or cylindrical shape. Cut out a base and a strip for the sidewall.
Score and slip the joining edges: score with a knife and apply a bit of water (called slip) to make them stick.
Gently press the parts together and smooth the joints using your fingers dipped in water.
Step 3: Adding Texture
Now for the fun part! Press textured objects like leaves, lace, or stamps into the soft clay. This will create stunning surface designs.
Step 4: Drying and Sanding
Let the planter dry for 24–48 hours in a shaded area. Avoid sunlight which can cause cracks.
Once dry, lightly sand the edges and surfaces to smooth out imperfections.
Step 5: Painting and Sealing
Use acrylic paints to give your planters a pop of color or earthy tones. Geometric patterns and abstract strokes are very trendy.
Let the paint dry completely, then apply a waterproof sealant if you plan to use the pot for live plants.
Bonus Project: DIY Kokedama with Clay Bowl
Kokedama is a Japanese planting method where the roots are wrapped in moss instead of a traditional pot. Here’s how to merge kokedama with your clay bowl:
- Choose a small plant like a fern or ivy.
- Wrap the root ball in wet sphagnum moss.
- Tie with jute string to hold it.
- Place your kokedama inside the handmade clay bowl.
This makes for a beautiful indoor display that blends tradition and creativity.
Creative Ideas & Variations
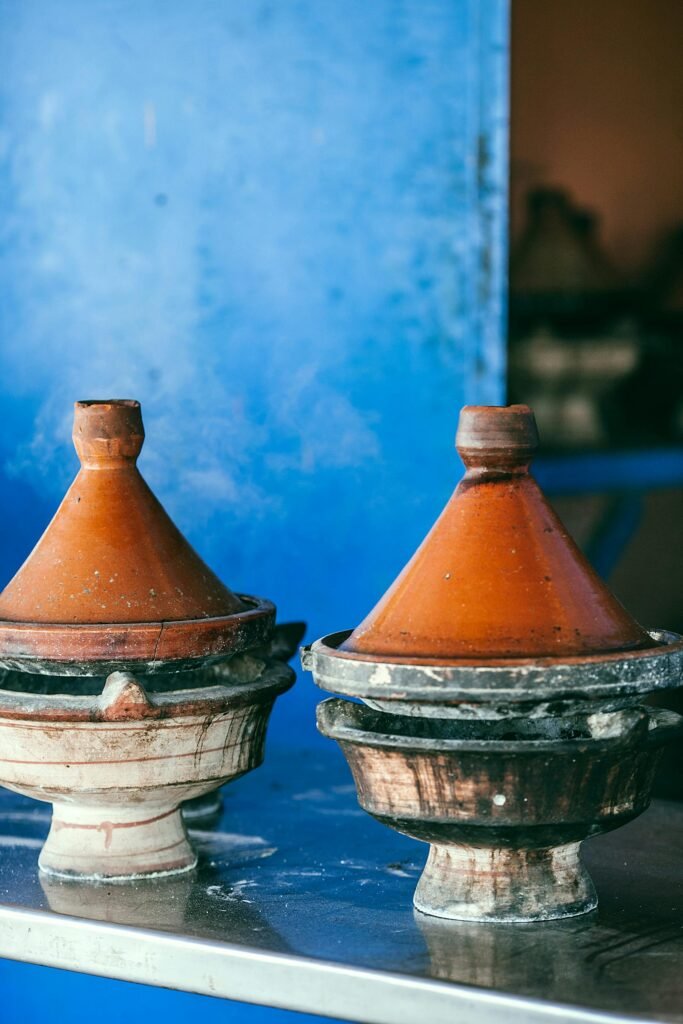
- Rustic Look: Use terracotta paints and jute ropes.
- Boho Style: Add colorful geometric designs or gold leaf.
- Animal Theme: Shape the pot like an elephant or cat head.
- Kids Craft: Let children make tiny face pots with googly eyes.
- Hanging Planters: Add holes for a rope hanger.
Caring for Your Clay Planters
- Don’t overwater; air-dry clay is porous and can soften.
- Use a plastic inner pot to plant directly.
- Reseal every 6 months if used outdoors.
- Dust and wipe clean with a damp cloth.
Frequently Asked Questions (FAQs)
Q1. Can I use polymer clay instead of air-dry clay?
A: Yes, but polymer clay needs baking, and is better for small decor.
Q2. Are air-dry clay pots waterproof?
A: Not naturally. Use a sealant to make them water-resistant.
Q3. Can I plant directly into the clay pot?
A: Yes, if sealed. Otherwise, use a plastic liner or inner pot.
Q4. How long does it take to dry?
A: 24-48 hours depending on thickness and humidity.
Q5. Is this safe for kids?
A: Absolutely! Use non-toxic clay and paints.
Conclusion: Time to Get Crafting!
With a little bit of clay, creativity, and patience, you can create stunning planters that bring beauty and calm to any space. These handmade clay pots and kokedama combos not only reflect your style but also support sustainable living.
Tag your creations with #DIYClayPlanters or share your designs with us on Instagram @DIYArtifacts. Happy crafting! Also click here Our Ancient Arts