
The world is increasingly uncertain—border tensions, missile threats, natural disasters, cyber warfare. But what if you could combine artistry and ingenuity to craft a DIY survival kit that’s functional and visually striking? In this guide, we’ll show you how to create a creative, tactical-leaning emergency pack: painted tools, sculpted compartments, and artful presentation—all built by hand, under $60. Let’s dive into how you can express yourself while preparing for the unexpected.
1. The Artistry of Survival: A Historic Perspective
Throughout history, artisans have faced crises—crafting tools and defenses with artistry:
- Medieval craftsmen forged ornately carved arrows and protective shields.
- During WWII, decorative Morse-code identity bracelets became functional art.
- In modern times, cultures blend creative utility—like Cuban survival whistles shaped like birds.
Your project continues this tradition: mixing art and preparedness to craft gear that’s both protective and expressive.
2. Why Make a Crisis‑Art DIY Survival Kit?
- Empowerment: You learn crucial skills—water purification, first aid, radio operation.
- Creativity: Hand-paint your flashlight or carve wood panels into the multi-tool box.
- Uniqueness: A tactical survival kit with murals and sculpture stands out—ideal for museum kiosks or maker fairs.
- Utility: You actually carry gear ready for unexpected crises—earthquakes, power outages, civil unrest.
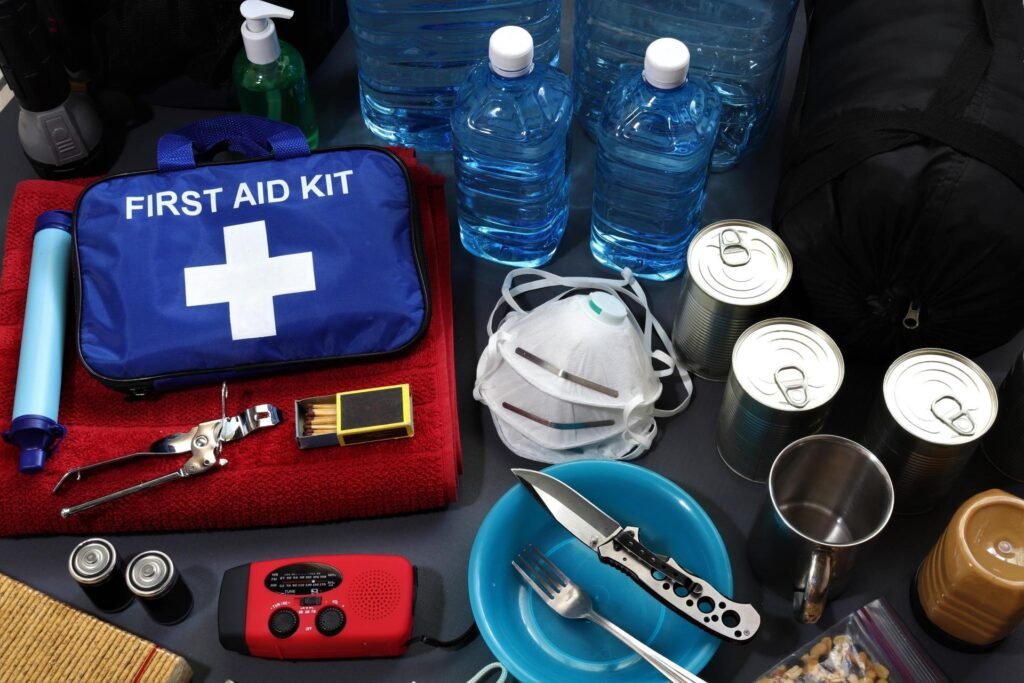
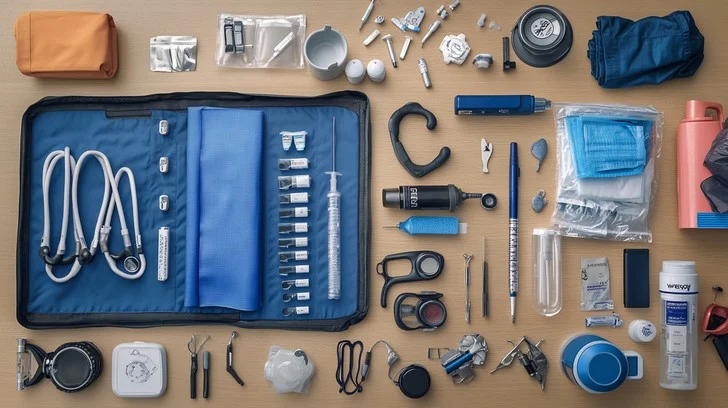
3. Content Blueprint: What’s Inside & How to Artify It
Here’s the planned inventory, with artful customization suggestions:
| Item | Function | Art-Style Customization |
|---|---|---|
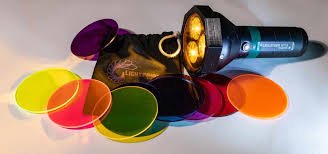
| Red LED flashlight | Lighting, signal in dark | Abstract stencil or graffiti paint on body |
| Water filter (DIY straw) | Clean drinking supply | Bamboo or wood casing sculpted with geographic relief map |
| First aid kit | Bandages, antiseptic | Paint bandages with tribal or mosaic patterns |
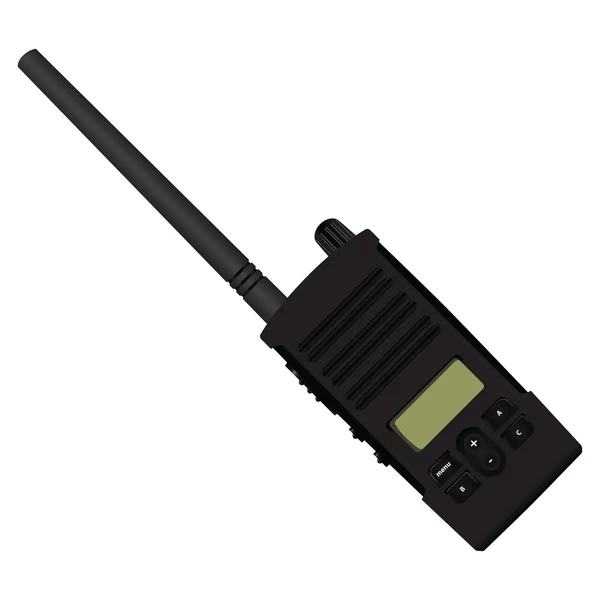
| Hand‑crank emergency radio | Access news during power outages | Decorate with metallic tribal symbols |
| Multi-tool | Knife, screwdriver, pliers | Laser engraving or hand-etch wood handle |
| Compact folding trowel | Digging, shelter building | Bronze finish with etched patterns |
| Firestarter (magnesium) | Ignite fires in a crisis | Holder painted like molten lava or desert texture |
| Paracord & bandana | Tying, signaling, medical splints | Tie-dyed in earth tones or war mural band |
| Water‑resistant pouch | Store small items securely | Canvas painted with tonal art (e.g. sunrise map) |
| Instruction scroll | Emergency steps guide | Printed on parchment replica, rolled with wax seal |
4. Step‑by‑Step Build Guide
A. Flashlight Makeover
- Strip casing (if empty).
- Sand lightly and paint with primer.
- Apply stencil and spray red/black layering.
- Seal with matte finish.
- Test beam brightness and button durability.
Tip: Red light preserves night vision and signals help.
B. DIY Straw Water Filter

- Drill holes in a bamboo stick.
- Layer charcoal, sand, gravel filters.
- Seal with non-toxic resin.
- Paint carvings—river maps, folk art.
- Test filtration with safe water first.
C. First Aid Box Decoration
- Use a small waterproof toolbox.
- Coat with primer.
- Mask areas and paint mosaic shapes.
- Seal with enamel.
- Store basic supplies: bandages, antiseptic wipes, gloves.
D. Emergency Radio Art
- Clean the radio surface.
- Apply metallic paints (copper, silver) in lines/curves.
- Add tribal symbol decals or engrave letters.
- Test audio and crank function.
E. Multi‑Tool & Trowel
- Sand wooden handle.
- Use wood-burning pen to etch patterns.
- Optionally paint carvings or symbols.
- Seal with varnish.
F. Paracord & Bandana
- Choose earth‑tone paracord.
- Add knots every 4″.
- Tie-dye or paint a matching bandana with survival images.
G. Firestarter Gift Box
- Craft a tin cover.
- Drill holes and fill with crushed lava rock or paint like molten magma.
- Insert magnesium piece and striker secured inside.
H. Canvas Pouch
- Cut strong fabric.
- Stitch edges; add zipper or snap.
- Paint sunrise map art: warm gradient, contour lines.
- Fill pouch with small emergency items (matches, meds).
I. Instruction Scroll
- Write steps concisely: “Boil water, disinfect wound, use radio.”
- Print in stylish serif font on aged paper.
- Roll up and seal with wax.
5. Safety, Materials & Legal Notes
- Test each gear individually before reliance.
- Use food-grade filter materials and non-toxic paints (VOC-free).
- Avoid sharp blades in carry-on luggage if flying.
- Check local laws for LED paint on electronics or crank devices.
6. Creative Presentation & Utility of DIY Survival Kit
Consider assembling your kit into a shadow-box display, like a museum piece:
- Mount items inside a wooden frame with backlight.
- Use labels: “Red Light: Night Vision”; “Bamboo Filter: River Guardian.”
- Add an acrylic plaque: “Preparedness is an Art.”
7. Deploy & Engage
- Take it to maker fairs, art shows, or prepper meetups.
- Create a time‑lapse video painting each item, share on your blog and social media.
- Encourage others to show their “Crisis‑Art Kits” via a hashtag like
#DIYCrisisArt.
8. Final Thoughts
By turning survival gear into a visual experience, you create something far more than tools—you forge an artifact DIY Survival Kit that tells a story of resilience, art, and preparedness. And who knows? It can spark conversations, build community, and even inspire others to craft their own survival art.
Related Blog Link
If you enjoyed this, check out our next guide:
> “DIY Miniature Steampunk Tesla Coil at Home”
Check About Israel : https://en.wikipedia.org/wiki/Israel