
In today’s age of remote work and smart-home intrigue, security is a priority—and drones are trending. But what if you could create your own DIY home-security drone using a budget-friendly toy? That’s exactly what we’ll show you in this guide. You’ll learn about drone origins, artistic inspirations behind drone art, and get a step-by-step build plan that’s under $100. Let’s take flight!
Part I: A Brief History of Drones & Drone Art
Drones began as military reconnaissance tools, dating back to post-World War I aerial target experiments. Over decades, they’ve evolved—from bulky defense crafts to compact civilian toys available at big-box stores and Amazon.
- Art meets drone: Drone artists use formations and LED programming to paint digital canvases in the sky.
- DIY culture: Maker communities began hacking toy drones, turning them into mini “flying alarm systems” or interactive art installations.
The same frugal creativity you see in drone-art installations can turn simple components into practical home-defense tools—without breaking the bank.
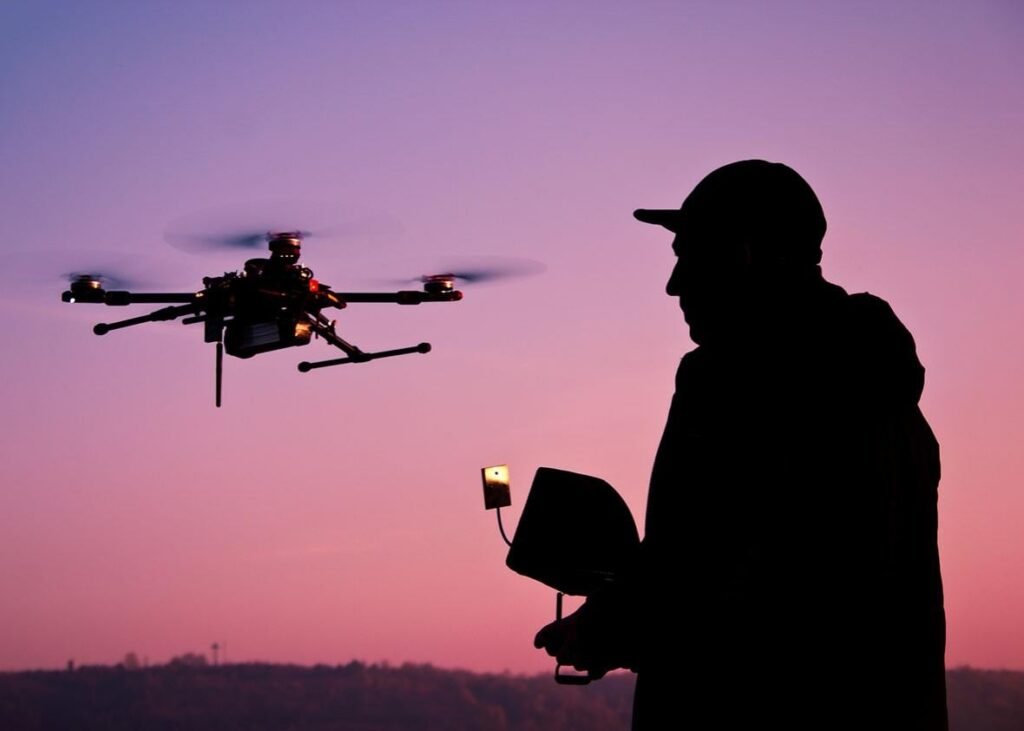
Part II: Why Convert a Toy Drone into a Security Tool? (DIY Home-Security Drone)
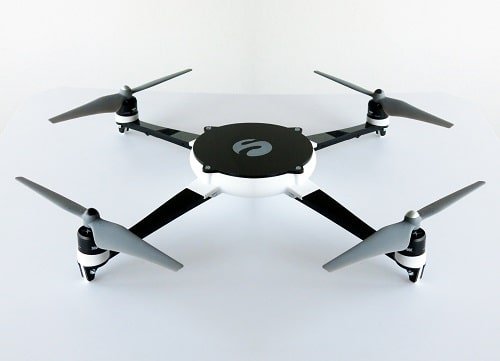
- Affordability: Most hobby drones cost $150–$300. But sub-$100 toy drones—like the Eachine E010 or Potensic A20—offer flying basics at a fraction of the price.
- Educational depth: You’ll learn electronics, coding, wireless comms, legal compliance, and even aesthetic design.
- Creative expression: Customize your drone with LED art, paint, stencils, or mini-sculpture attachments—blending your love for art and utility.

Part III: What You’ll Need (Budget ~ $90)
| Component | Approx. Cost |
|---|---|
| Chinese toy drone (e.g., Eachine E010) | $30 |
| Mini Wi-Fi camera module | $20 |
| LEDs / NeoPixels strip | $10 |
| Small piezo buzzer / alarm | $8 |
| DIY 3D-printed mount (PLA filament) | $5 |
| Basic soldering kit & wires | $10 |
| Optional: small battery extender | $7 |
Total: ≈ $90–95
Part IV: Step-by-Step Build Guide (DIY Home-Security Drone)
1. Disassemble Your Toy Drone
- Remove the outer shell—save it for future aesthetics or camouflage.
- Mark motor wires and battery terminals before unplugging.
2. Install a Mini Camera
- Solder a mini Wi‑Fi cam to the battery line (ensure 5V compatibility).
- Use a secure mount on top—design your own PLA housing for aesthetic flair (e.g., temple pillars, minimalist cube, ranger owl).
3. Add LEDs for Visual Alarm
- Wrap a 4-LED NeoPixel strip around the shell edges.
- Solder data & ground wires to your drone’s flight board (check specs to match heating and current constraints).
4. Alarm Buzzer Integration
- Add a piezo buzzer with an opto-isolator to avoid interference.
- Program a quick alert tone sequence for intrusion detection.
5. Camera-to-App Control
- Use an ESP8266 module (NodeMCU/flysky brushed) to Wi‑Fi stream.
- Flash open-source firmware (e.g. ESPHome or Tasmota) to stream video via smartphone.
6. Power & Weight Management
- Remove original battery charger and excessive plastics.
- If needed, add lightweight 18650 battery extender—ensure clearance and balance.
7. Testing Phase
- Tether drone indoors to test flight & streaming.
- Calibrate LED and buzzer triggers (start hover → turn on alarm blaze).
8. Customize the Aesthetic
- Paint the drone to match your home “fortress” style.
- Add DIY decals like faux ancient runes for that museum‑artifact vibe.
Part V: Safety & Legal Considerations
- Airspace regulations: Many countries restrict flights above 400 ft or within 5 km of airports. Check local civil aviation rules before outdoor deployment.
- Privacy Laws: Streaming cameras in public areas may breach consent laws—consult local guidelines.
- Electromagnetic Compatibility: Wi‑Fi signals, jammers, and buzzers must comply with FCC, CE, or equivalent EMI rules.
- Drone Art and Permits: If you plan nighttime LED flight art, some municipalities require permits (more so in decorated/natural areas).
Part VI: Turning Function Into Art
- Envision your drone as an **“Artifact Guardian”—**a flying sculpture with LED halos and sculpted 3D-printed armor plates.
- Themes:
- Ancient sentinel: Marquetry-style wings.
- Stealth owl: Black wings, glowing white LEDs.
- Neoclassical guardian: Minaret-shaped shells with pastel lights.
- Let form and function merge—your drone becomes a conversation piece, not just a security device.
Part VII: Flying It All Together
- Configure software – ESPHome automates lights and buzzer thresholds.
- Training flight – Practice remote piloting indoors to master stability.
- Deployment – Use on low-flight patrols (under 50 ft) near entry points like doors, windows, patios.
- Monitor from anywhere – Stream right to your phone or laptop.
- Community sharing – Document with drone-art photos and share on Maker forums or Instagram with tags like #DIYDroneArt.
Conclusion
From its origins in art and hobbyist subculture, the humble toy drone has evolved into a creative—and functional—security tool. With DIY ingenuity, you can build an eye-catching airborne sentinel under $100, blending utility and style in one sleek device.
Related Reading
Don’t miss our other creativity-driven DIY blog:
- Read this blog : England vs India
- For More Details About Drone : https://en.wikipedia.org/wiki/Drone